
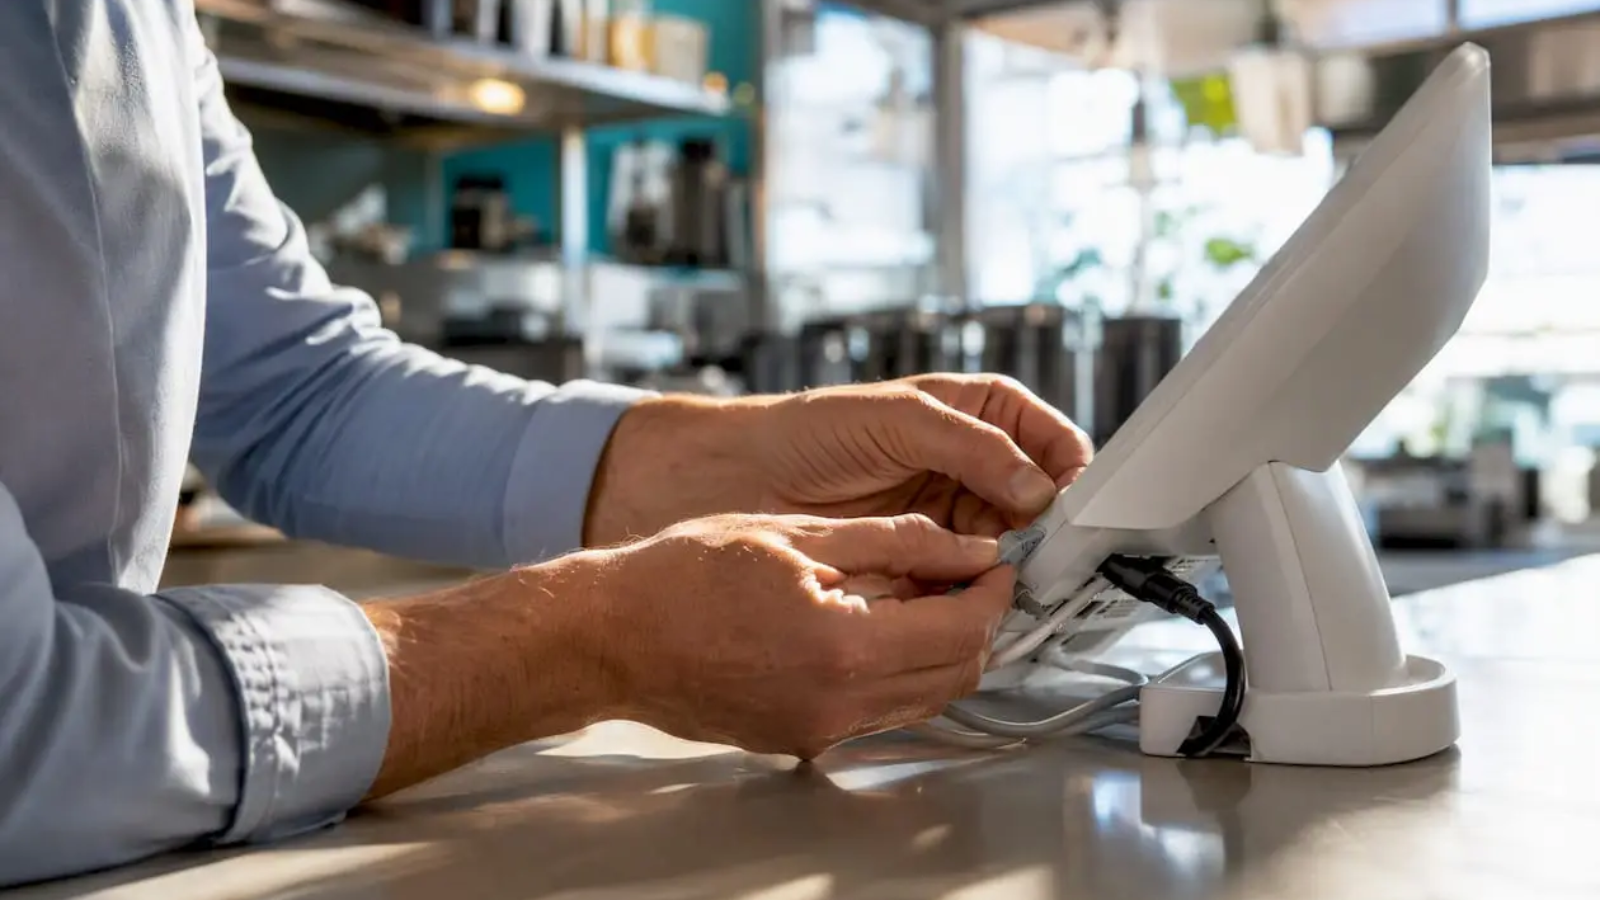
Yes, OpenTable integrates with your POS, CRM, and other restaurant systems. You can connect it through native integrations, middleware like Omnivore, or OpenTable’s Partner APIs. Here are your three immediate actions:
- Check compatibility: Log into OpenTable, go to the Integrations menu, and confirm whether your POS (Toast, Square, NCR Aloha, Upserve) is listed as a supported partner or requires Omnivore as middleware.
- Map your tables and shifts: Match every table number in your POS exactly to OpenTable’s floor plan, and align your shift definitions so reservation windows and check open/close times line up correctly.
- Test before you go live: Run sample covers in OpenTable’s Sandbox or a staging environment, simulate payments, and confirm that Paid status updates appear on the reservation card before touching a real service.
Key Takeaways
A successful OpenTable integration requires correct table matching, shift alignment, and Sandbox testing before any live service.
| Point | Details |
|---|---|
| Table matching is critical | Every POS table ID must match OpenTable’s floor plan exactly or revenue attribution breaks. |
| Sandbox testing is non-negotiable | Test with sample covers and simulated payments before going live to catch mismatches early. |
| Plan requirements vary by POS | Square requires Restaurants Plus; Toast requires Partner Integrations access; confirm your tier before starting. |
| API onboarding takes time | OpenTable’s pre-production review has a 14-day minimum window; submit at least three weeks before your target launch. |
| Ionhospitality activates the data | Ionhospitality connects integration data to marketing campaigns, website development, and private event promotion with no commissions. |
Table of Contents
- What does OpenTable integration actually do for your restaurant?
- Which POS and partner platforms does OpenTable connect with?
- How does the technical data flow work?
- What system requirements and plan access do you need?
- Step-by-step setup checklist for connecting OpenTable to your POS
- What developers need to know about OpenTable APIs and partner onboarding
- How to fix the most common OpenTable integration problems
- Operational and marketing best practices after go-live
- When should you hire an agency to handle the integration?
- The integration gap most restaurants miss
- The integration gap most restaurants miss
- How Ionhospitality helps restaurants get more from their tech stack
- Sources
What does OpenTable integration actually do for your restaurant?
OpenTable integration connects your reservation platform to your POS and other systems so data flows automatically instead of requiring manual entry. When a guest checks in, the table status updates in real time. When the check closes, spend data feeds back into the reservation card. That loop, running quietly in the background, is where the real operational value lives.
The core outcomes you unlock:
- Reservation-to-table sync: Seating a party in OpenTable automatically opens or updates the corresponding check in your POS.
- Revenue attribution: Average spend per party, total covers, and revenue per reservation surface in your reporting without any manual export.
- Guest history in the guestbook: Historical spend and visit frequency attach to each guest profile, giving your front-of-house team context before the party even sits down.
- Automated table release: When a check is marked Paid in the POS, OpenTable can automatically flip the table status, cutting the time your host spends manually updating the floor plan.
- Fewer double bookings: Real-time status sync means your host always sees an accurate floor, reducing the risk of seating a party at a table that is not actually clear.
The strategic value goes beyond operations. Centralizing guest data in OpenTable lets you feed reservation-derived insights into marketing campaigns, build loyalty segments, and personalize outreach based on actual visit and spend history. That is the difference between a reservation system and a genuine guest experience engine.
💡 The POS integration features OpenTable unlocks include average spend per party, automated Paid table status, and historical guest spend in the reservation card — all tied to correct table matching.
Which POS and partner platforms does OpenTable connect with?
OpenTable supports a range of POS systems, and the connection method depends on whether your system is a native partner or requires Omnivore as middleware.
Native integrations (direct connection):
- Toast: Enable the OpenTable integration tile in the Toast dashboard (Partner Integrations access required), then confirm the connection inside OpenTable’s Integrations menu. Toast’s setup guide walks through both sides of the handshake.
- Square: Requires Square for Restaurants Plus plan and an active OpenTable account to sync floor plan and coursing data. Lower Square plan tiers do not support the full sync.
- NCR Aloha: Supported via native integration; verify the exact version requirement with your OpenTable account manager.
- Upserve (now Lightspeed Restaurant): Supported natively; confirm current version compatibility before starting setup.
Omnivore-mediated integrations:
For POS systems not on OpenTable’s native partner list, Omnivore acts as middleware. Omnivore installs a small agent on or near your POS server, handles the translation layer, and passes data to OpenTable over TLS 1.2 outbound HTTPS. If your POS is not listed in OpenTable’s Integrations menu as a direct partner, Omnivore is likely your path.
How to verify your compatibility:
- Log into your OpenTable account.
- Go to Settings → Integrations.
- Search for your POS by name. If it appears, you have a native path. If it does not, contact OpenTable support to confirm whether Omnivore is the right middleware for your system.
How does the technical data flow work?
The mechanics are straightforward once you understand the sequence. Every feature that depends on the integration, from automated table release to revenue reporting, requires this chain to work without a break.

| Stage | What happens | Feature it enables |
|---|---|---|
| Reservation created | Guest books via OpenTable; table assigned to party | Floor plan visibility, pre-service guest notes |
| Guest seated | Host marks party as seated; POS check opens | Real-time table status sync |
| Check open | POS check named to match OpenTable table number | Revenue attribution begins |
| Check closed | Server closes check in POS | Spend data queued for sync |
| Payment processed | POS marks check Paid | Automated Paid status in OpenTable; guest spend recorded |
Three mechanics must be correct for this flow to work:
- Table number matching: Every table ID in your POS must be identical to the table number in OpenTable’s floor plan. A mismatch at this step breaks revenue attribution and automated status updates. This is the single most common failure point in any POS integration.
- Shift alignment: OpenTable’s shift definitions (lunch, dinner, late night) must map to the same time windows your POS uses. A shift mismatch causes checks to fall outside the reservation window, breaking the link.
- Check naming conventions: Some POS systems name checks by table number, server, or party size. OpenTable expects a specific naming format to match the reservation. Confirm this with your POS vendor before go-live.
What system requirements and plan access do you need?
Getting the technical prerequisites right before you start saves hours of troubleshooting later.
POS software versions:
- Confirm your POS is running a version that OpenTable’s integration supports. For Toast, check the Partner Integrations section of your Toast dashboard. For Square, you need Square for Restaurants Plus at minimum. For NCR Aloha and Upserve/Lightspeed, ask your account manager for the minimum supported version.
Network and security requirements:
- Outbound TLS 1.2 HTTPS must be allowed from your POS server (or the machine running the Omnivore agent) to OpenTable’s endpoints.
- If your restaurant uses a firewall or content filter, whitelist Omnivore’s agent communication addresses. Omnivore may occasionally need remote access to the POS server for updates.
- API credentials must be stored encrypted and are non-transferable. Partners bear responsibility for maintaining production integrations and complying with OpenTable’s terms.
Account plan and API access:
- POS integration is included in base OpenTable subscription costs in the U.S. Before paying any third-party “integration setup” fee, confirm with your OpenTable account manager that the feature is not already included in your plan.
- The Consumer API requires eligibility confirmation, signed agreements, and may carry fees. This applies to developers building custom booking experiences, not to standard POS integrations.
Pro Tip: Call your OpenTable account manager before signing any third-party integration contract. POS integration is often included in your existing plan, and a five-minute call can save you hundreds of dollars in unnecessary setup fees.
Step-by-step setup checklist for connecting OpenTable to your POS
Follow this sequence in order. Skipping steps, especially the testing phase, is the fastest way to create problems during a live service.
Pre-install checklist:
- Back up your current POS settings and table configuration.
- Confirm your POS software version meets OpenTable’s minimum requirement.
- Export or document your current table map (table numbers, sections, capacities).
- Confirm your OpenTable floor plan matches your physical layout exactly.
Setup steps:
- Enable the integration module in your POS. For Toast, navigate to Partner Integrations and add OpenTable. For Square, upgrade to Square for Restaurants Plus if needed, then enable OpenTable in the integrations panel.
- Confirm the connection in OpenTable. Go to Settings → Integrations in your OpenTable account and approve or finalize the connection. OpenTable is notified automatically for some partners; for others, you may need to enter credentials.
- Install the Omnivore agent if required. If your POS is not a native partner, Omnivore will provide installation instructions. The agent typically installs on or near the POS server and requires outbound TLS 1.2 access.
- Map your tables. Match every table number in your POS to the corresponding table in OpenTable’s floor plan. Use a spreadsheet to cross-reference both lists before entering them into either system.
- Align your shifts. Set OpenTable shift times to match your POS service periods exactly.
- Run a sandbox test. Create a test reservation, seat the party, open a check in your POS, close it, and process a simulated payment. Confirm that the Paid status appears on the OpenTable reservation card.
Staff training and go-live:
- Train your host team on the new floor plan workflow before the first live service.
- Run a soft launch during a low-volume shift (a Tuesday lunch, for example) so staff can troubleshoot in a low-pressure environment.
- Keep your POS vendor and OpenTable support contact information visible at the host stand for the first two weeks.
What developers need to know about OpenTable APIs and partner onboarding
If you are building a custom booking experience or connecting OpenTable to a proprietary system, the API path is more involved than a standard POS integration. OpenTable’s API documentation covers three primary APIs:
| API | Primary function | Key capability |
|---|---|---|
| Booking API | Create and manage reservations | Full CRUD on reservations for eligible partners |
| Sync API | Sync guest and table data | Real-time status updates between systems |
| CRM API | Read guest history and profiles | Access spend history, visit frequency, preferences |
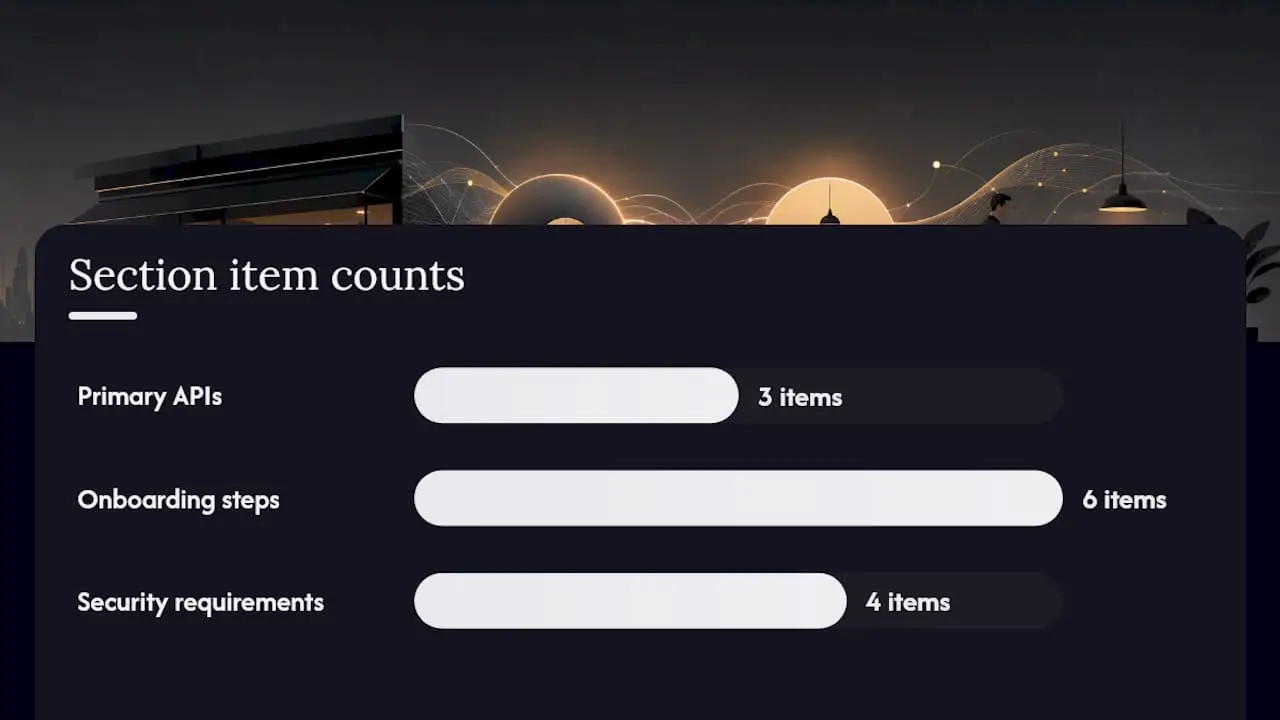
Note that booking integrations vary across platforms: some expose read-only availability for discovery while others support full reservation creation. Test each endpoint’s behavior in Sandbox before assuming full CRUD access.
Partner onboarding checklist:
- Confirm eligibility for the API tier you need (Consumer API vs. Partner API).
- Submit your application and sign the required agreements.
- Build and test your integration in the Sandbox environment.
- Submit your pre-production implementation for OpenTable review. Allow a minimum 14-day review window before expecting production access.
- After approval, store API credentials encrypted. Keys are non-transferable.
Security requirements:
- All API calls must use HTTPS with TLS 1.2 or higher.
- OAuth 2.0 handles authentication. Never hardcode credentials in your codebase.
- Production access is gated by partnership review and legal agreements. Sandbox access does not guarantee production approval.
Pro Tip: Submit your pre-production implementation at least three weeks before your target launch date. The 14-day minimum review window is a floor, not a guarantee, and revisions can extend the timeline.
How to fix the most common OpenTable integration problems
Most integration failures trace back to three root causes: table number mismatches, shift misalignment, and connectivity issues with the Omnivore agent. Here is how to diagnose and fix each one.
Diagnostic checklist (run this first):
- Confirm that every table number in your POS matches the OpenTable floor plan exactly, including any leading zeros or naming conventions (Table 1 vs. T1 vs. 01).
- Check your server clock. If the POS and OpenTable are on different time zones or the clock has drifted, shift windows will not align.
- Verify the Omnivore agent is running (if applicable). Log into the Omnivore dashboard and confirm the agent shows as active and connected.
- Test outbound TLS 1.2 connectivity from the POS server to OpenTable’s endpoints.
Fixes by issue type:
- Table mismatch: Rename tables in your POS or OpenTable floor plan to match exactly. Re-run a test cover after the change to confirm Paid status syncs correctly.
- Shift mismatch: Adjust OpenTable shift start/end times to match your POS service periods. If your POS uses a “day close” at 3:00 AM, your OpenTable late-night shift must end at or before that time.
- Double bookings: Usually caused by a delay in table status updates. Confirm the Omnivore agent is not throttled and that your network is not blocking outbound connections.
- Check not linking to reservation: Verify your check naming convention matches what OpenTable expects. Contact your POS vendor to confirm the correct format.
Before contacting support:
- Screenshot the table map from both systems side by side.
- Export the last 24 hours of Omnivore agent logs.
- Note the exact reservation ID and check ID for any failed sync.
- Have your POS software version and OpenTable account ID ready.
Operational and marketing best practices after go-live
Getting the integration live is step one. Getting value from it every week requires a few ongoing habits.
Operational checklist:
- Set a seating rule that no check can be opened without a linked reservation during peak service. This keeps your data clean and prevents orphaned checks from breaking revenue attribution.
- Define a policy for table combos (two tables joined for a large party). Most POS systems require a specific workflow for combined checks; confirm this with your POS vendor and document the SOP for your staff.
- Establish a comp policy. Comped checks still need to close correctly in the POS for the table status to update in OpenTable.
Marketing use cases:
- Pull weekly spend-per-cover reports from OpenTable and feed them into your CRM for loyalty segmentation. Guests who spend above a threshold are your best candidates for private event outreach. See how restaurant marketing trends are shifting toward this kind of data-driven personalization.
- Use visit frequency data to build re-engagement campaigns targeting guests who have not returned in 60 or 90 days.
- Connect revenue data to your marketing tracking so you can attribute bookings to specific campaigns and channels.
Pro Tip: For the first 30 days after go-live, run a weekly audit of your table-match report in OpenTable. Pull the report every Monday morning, flag any unmatched checks, and resolve them before the next weekend service. This habit catches drift early before it corrupts your reporting.
When should you hire an agency to handle the integration?
Most restaurant managers can handle a standard POS integration with the right preparation. But there are situations where bringing in an agency saves real time and prevents costly mistakes.
Hire agency help when:
- You have no internal developer resources and need a custom API integration (Booking API, CRM API, or a proprietary system connection).
- You are rolling out across multiple locations and need consistent table mapping, shift alignment, and staff training at scale.
- You want to activate the marketing side of the integration immediately, not months after go-live.
- Your POS is not on OpenTable’s native partner list and Omnivore’s setup requires technical coordination.
What a good agency delivers during an integration engagement:
- Integration project management: timeline, vendor coordination, and milestone tracking.
- POS and OpenTable table mapping and shift alignment.
- Developer coordination for API work, including Sandbox testing and pre-production submission.
- Staff training materials and go-live support.
- Marketing activation: connecting guest and revenue data to CRM campaigns, social advertising, and private event promotion.
Pro Tip: Ask any agency you consider for a written deliverables list before signing. A credible integration partner will specify exactly which table-mapping steps, testing protocols, and staff training sessions are included, not just promise a “full-service setup.”
The integration gap most restaurants miss
The integration gap most restaurants miss
Here is what I see consistently: restaurants spend weeks getting the technical side of an OpenTable integration right, then do nothing with the data it generates. The table status syncs. The revenue attribution works. The guest history populates. And then it just sits there.
The operational wins are real. Faster table turns, cleaner reporting, fewer double bookings. Those matter. But the bigger opportunity is using that guest data to drive marketing. A guest who has visited four times and spends above your average check is not just a loyal customer. They are your best private event prospect, your most likely repeat booker, and the person most likely to respond to a targeted offer.
Most restaurants treat integration as an IT project. The ones that get the most out of it treat it as a marketing infrastructure project. The technology is the foundation. What you build on top of it, the campaigns, the personalization, the re-engagement sequences, is where the revenue actually grows.
How Ionhospitality helps restaurants get more from their tech stack
You have done the hard work of getting OpenTable connected. Now the question is what you do with the data it generates.
Ionhospitality works with full-service restaurants to turn reservation and guest data into real revenue. We handle website development with booking and online ordering integrations built in, plus geo-targeted social media advertising that uses your guest data to fill seats and sell private events. No commissions, no revenue share. Just a flat agency engagement that puts more bookings in your calendar.
If you want to know exactly how your current tech stack could be working harder, book a discovery call and we will walk through it with you.
Sources
Bookmark these official resources before you start your integration project.
- Get started with POS integration
- Get Started With the OpenTable Integration
- Unified
- Restaurant Booking System | OpenTable Integration | Square

Add a Comment